
With access to information getting easier as time goes by, and as everything and everyone is becoming digital, carpentry and home maintenance are now leaning towards D.I.Y. (Do-It-Yourself). With just one click, you could find a ton of information essential to what you’re searching for.
 Why not? People tend to focus on quality. Who would want costly maintenance for anything, right? Not me. Imagine the money you could save by doing D.I.Y. maintenance: the product itself, labour, shipping, and much more. Plus, it gives us time to learn on something new, feel satisfied with your work, and it can be a bonding time for you and your family.
In this article, we’ll show you the D.I.Y. steps on replacing the rubber seals on your UPVC Window.
First off, what’s UPVC?
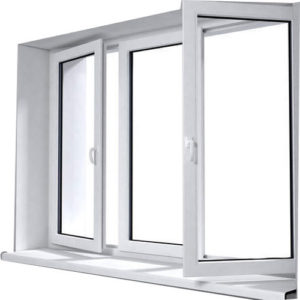
UPVC, or unplasticised polyvinyl chloride, is also called as the rigid PVC. Unlike the typical PVC, this material is not flexible, and it’s harder, perfect for windows.
Here are some benefits of using UPVC:
- High Level of Thermal Comfort
- Extremely Durable and Long Lasting
- Low Cost and Low Maintenance – a 1200 x 1200 size UPVC window is 2 to 3 times cheaper than wooden and Aluminum windows
 Why would we need to replace the rubber seals on our window? 2 words my friend: efficiency and health. There are times that the rubber seals may tear out and may result to a window leak. When this tears up and creates a leak, this may lead to heat escaping from your home during winter and heat invading your home during summer, and costing you more for heat or air conditioning. Not only that, dusts, allergens, germs, and a lot of microscopic organisms may enter your home and can trigger health problems.
What would cause a window seal to fall off? Well, there are a lot of reasons. One, the faulty installation itself, second, chemicals that can dissolve sealants, and another reason are high winds. Winds can put pressure on glass panes.
How will I know if my window has a leak on its rubber seal? Simple, burn an incense stick near all its joints and connections, and if the smoke flickers, you have an air leak.
You’re lucky enough if your window is still under warranty, but if not, you could follow Option A, hire someone, or Option B, the economical, life-saving, money-saving option of fixing it yourself.
Well, if you choose Option A, we’re happy for you! If you chose Option B, no worries, we’re here to help you out every step of the way.
So, here’s how:
- Measure your window to determine how much window seals you’d need.
- Remove your old rubber seal.
- With the help of a stainless steel brush, pry bar and some alcohol, clean the entire window channel and get rid of dust, dirt and any other particles that are lodged. Use another clean cloth to wipe the surfaces you’ve just worked on.
- Carefully put on the new rubber seal, and you may use silicone sealant for added adhesiveness.
We know how hard it is to look for an article on how to replace your rubber seal on your UPVC window. Honestly, we also had a hard time looking for one on the internet. It’s either they ask you to use your warranty, or they’d give you their contact details, and you know how that will go. It’s not D.I.Y., rather, it’s P.I.Y. (pay it yourself).
Also, as an extra mile, here’s a video we’ve found on how this man replaced the rubber seal on his windows.